Shopping Cart
Your shopping cart is empty.
£0.00
View Cart
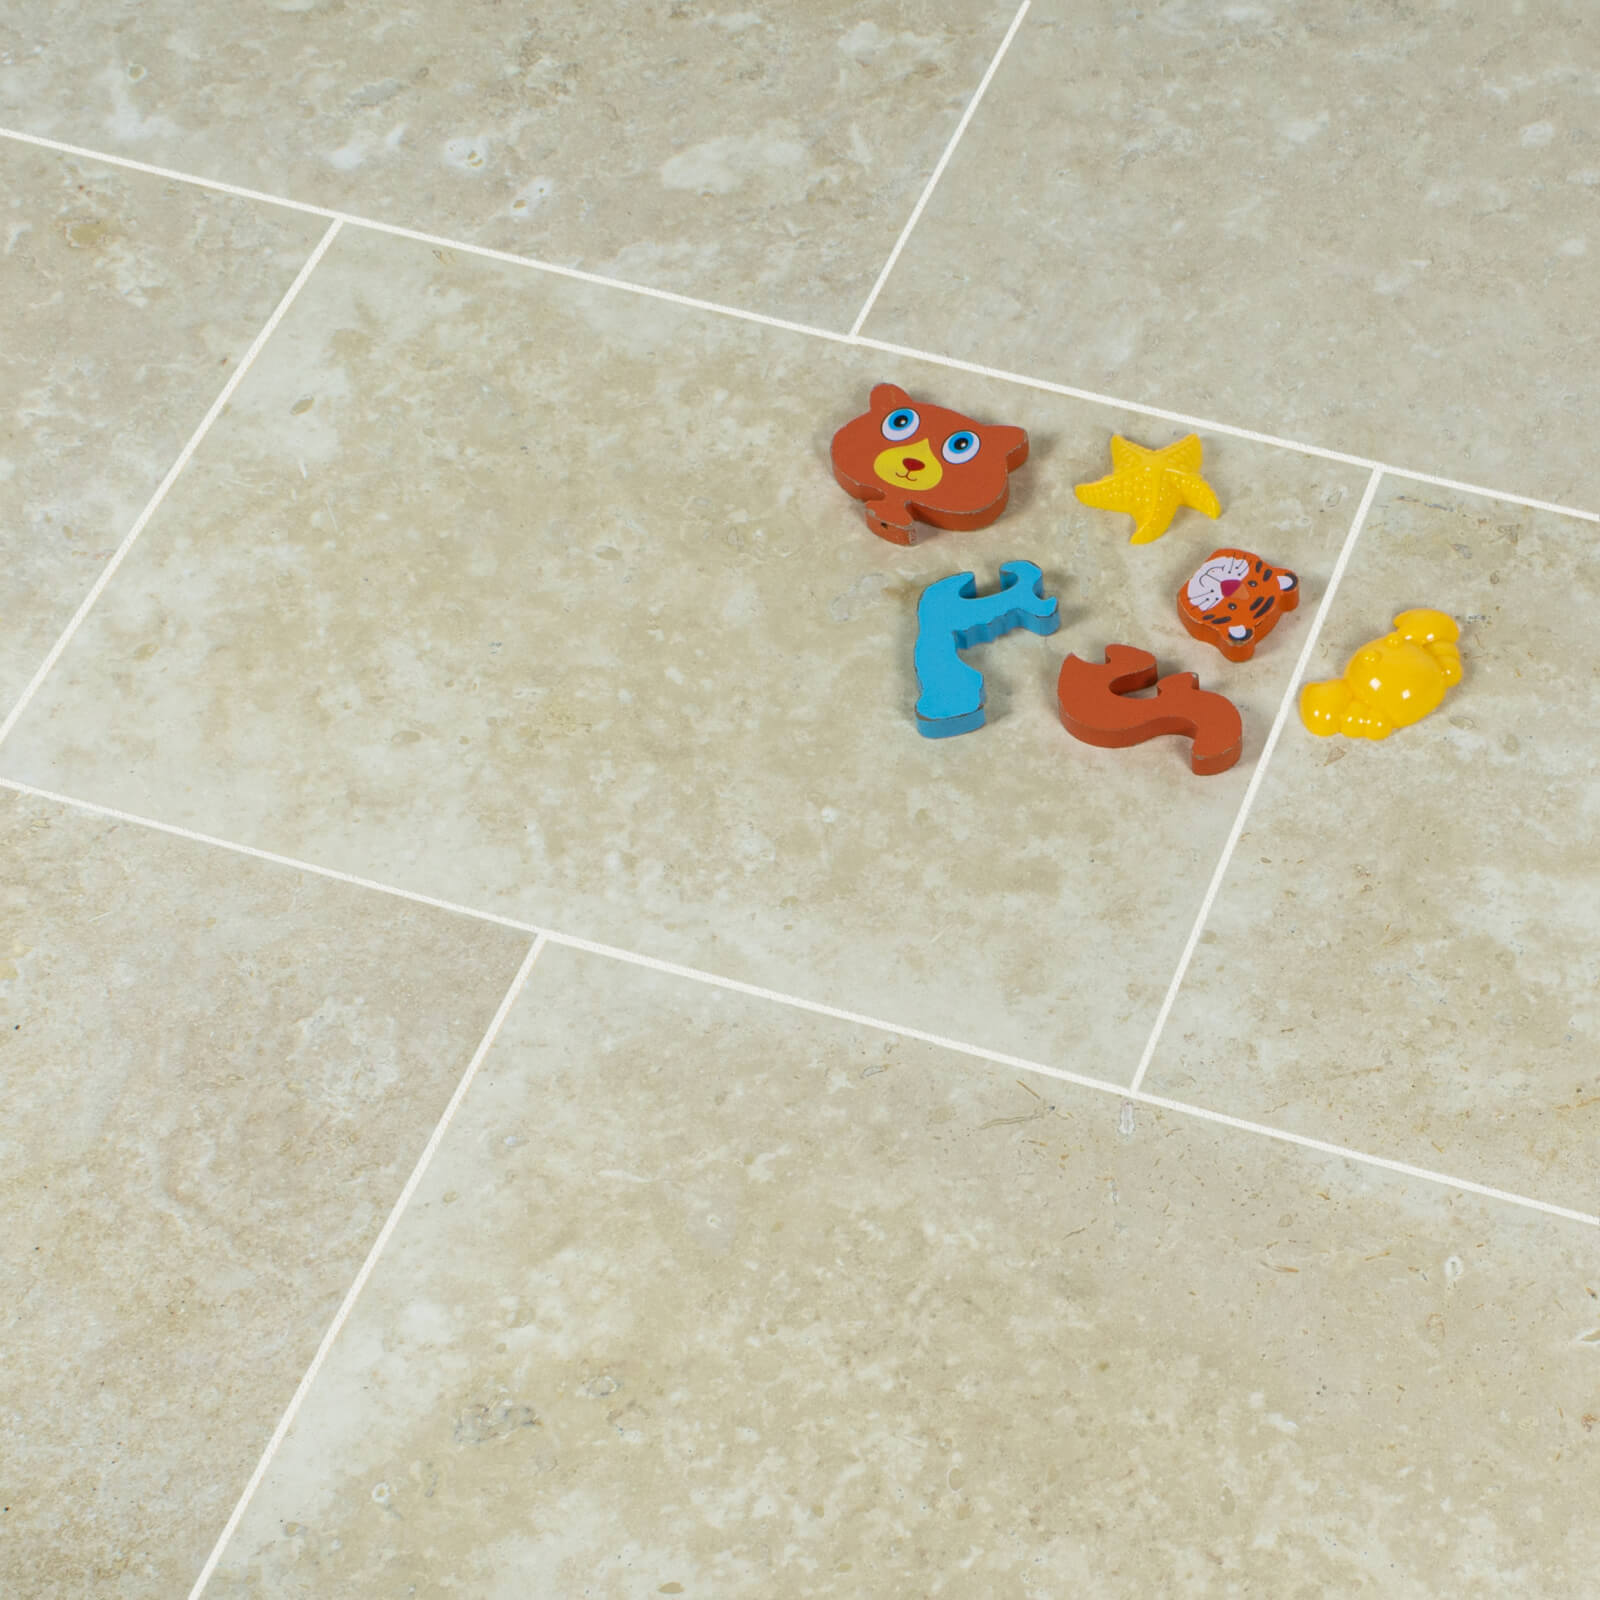
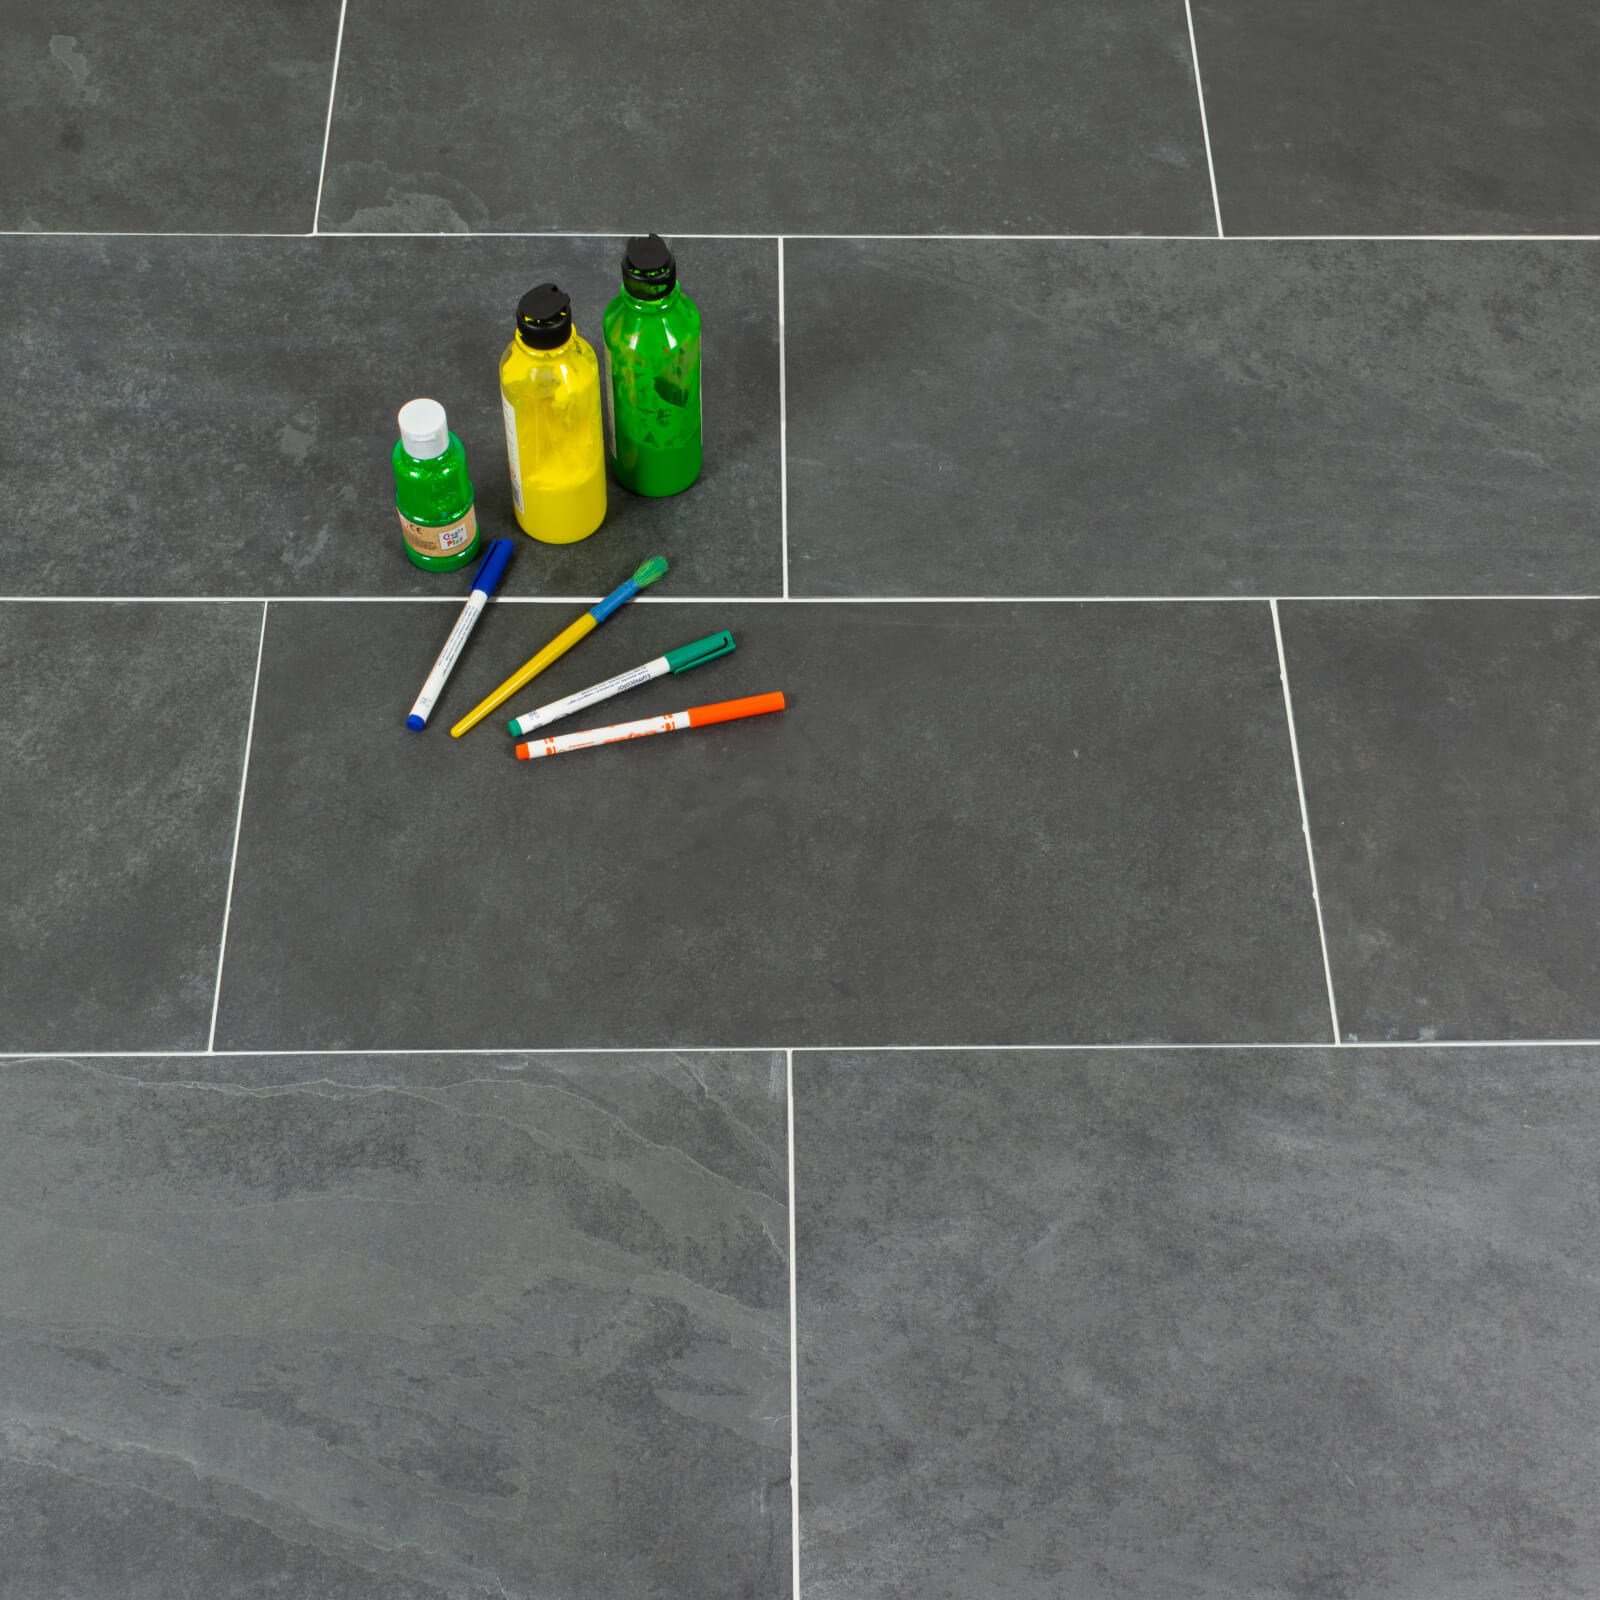
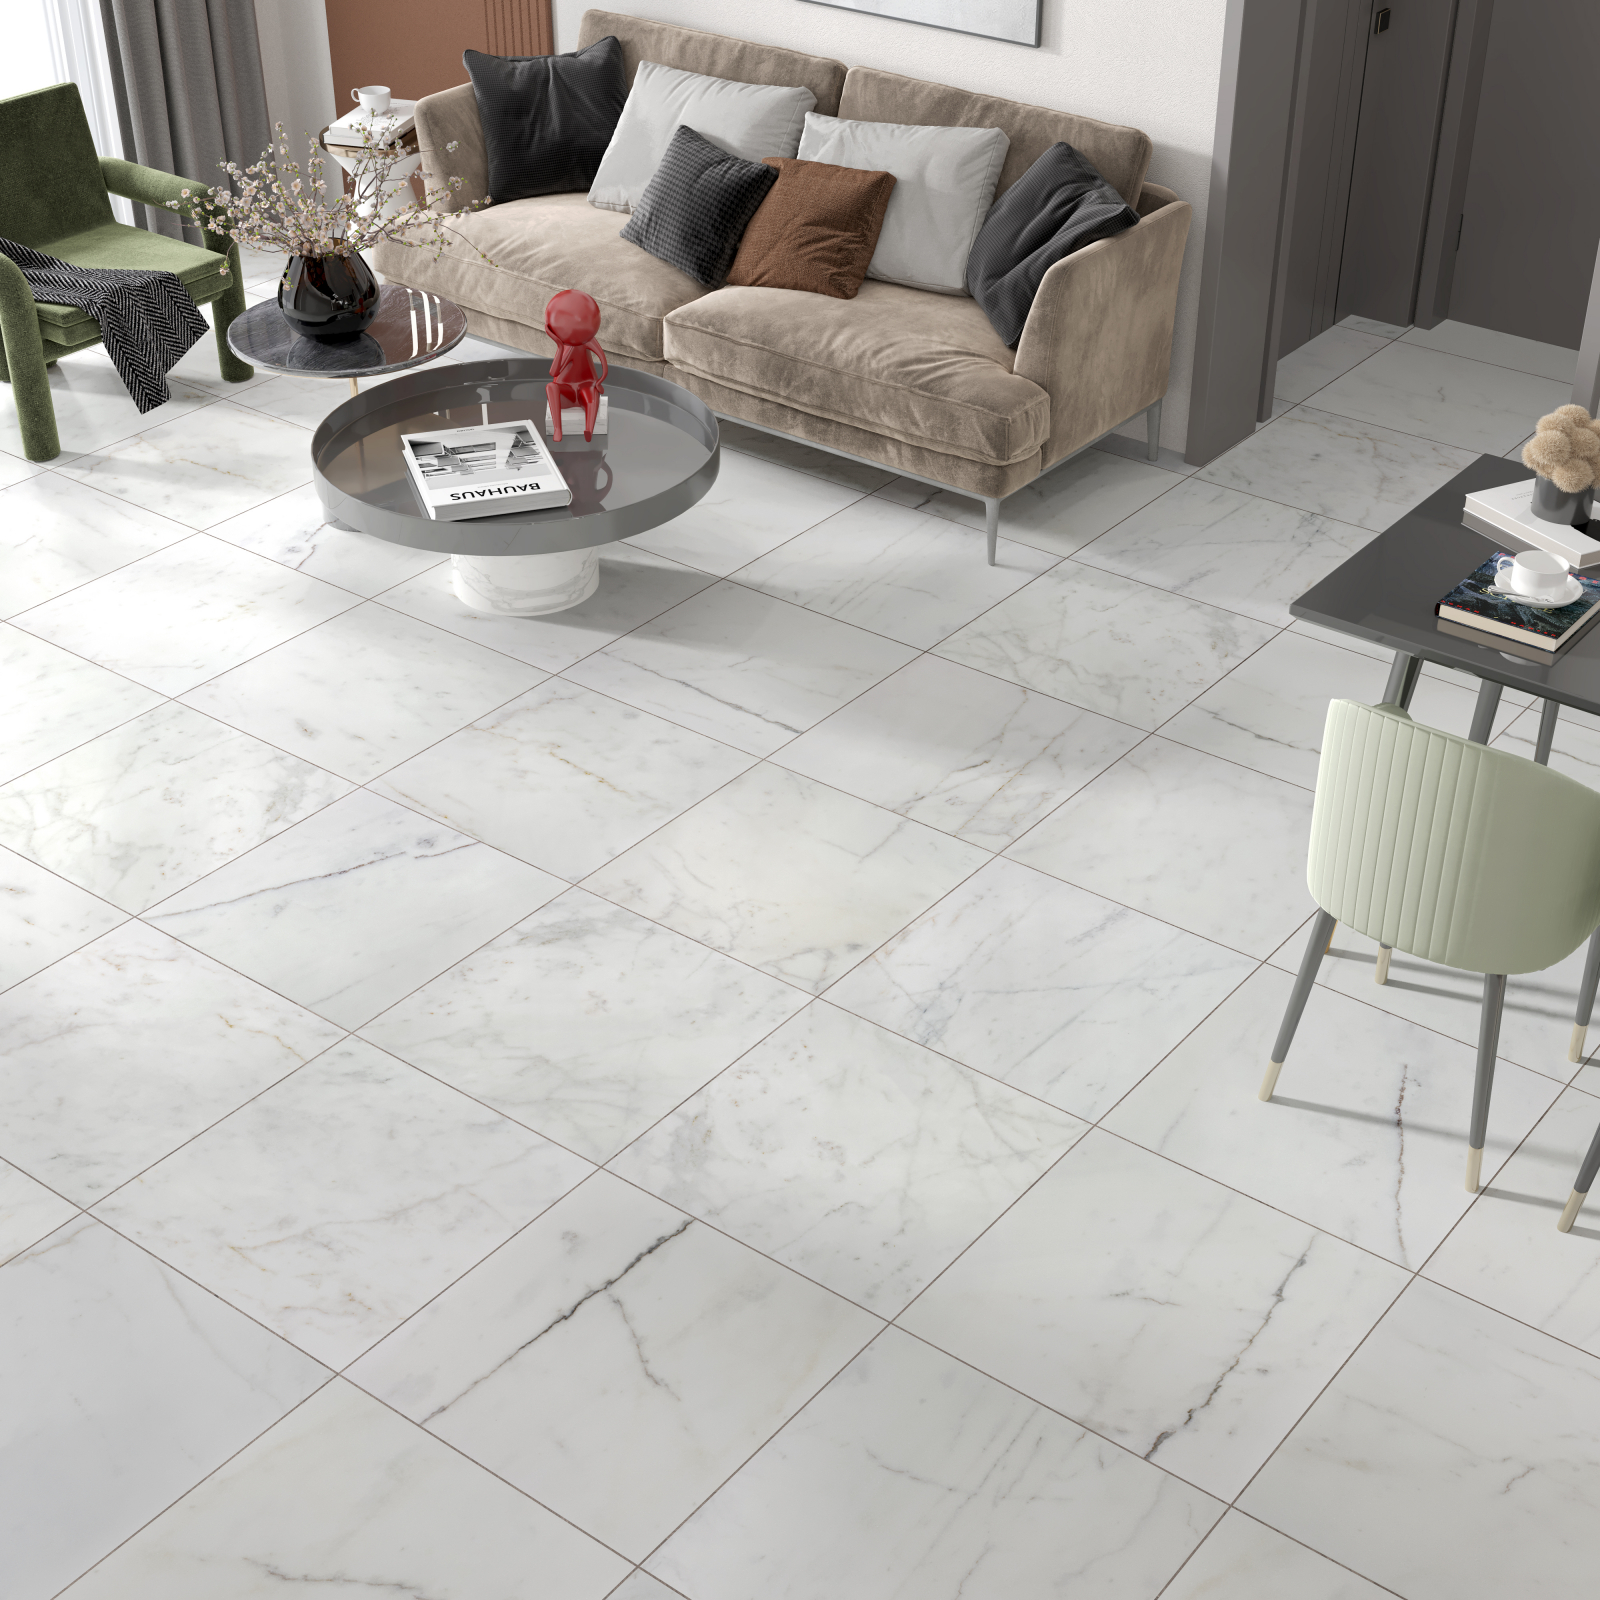
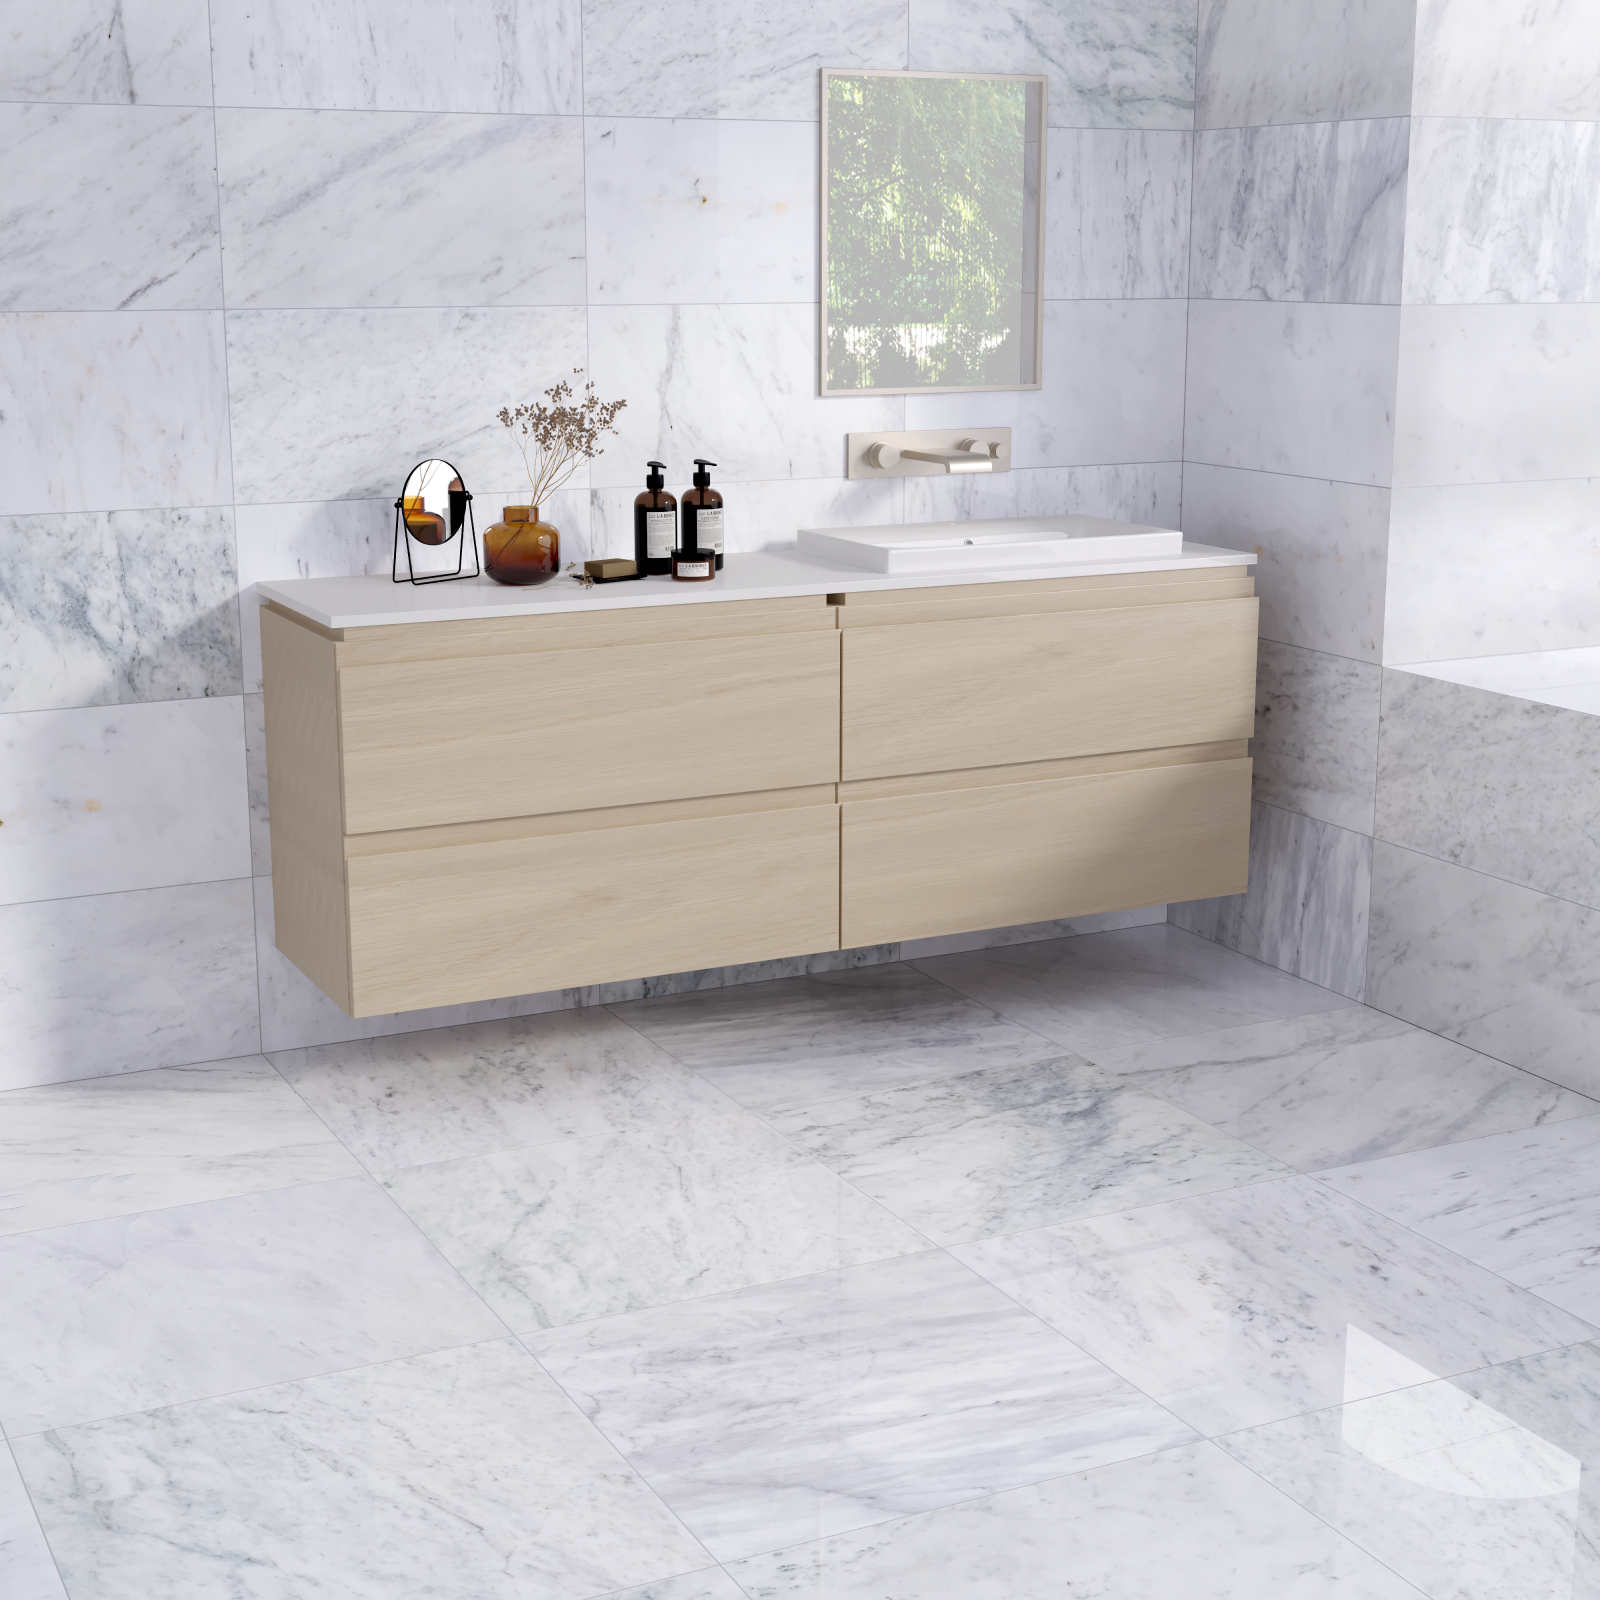
This blog post will walk you through the process of getting your floor ready for tile installation and important things to consider when placing tiles on a concrete floor. Anyone can do this, your steps are listed below.
What are all of the steps, then?

Getting your tiles lined up and measured for cutting.
1. Start by drawing a chalk line across the middle of the room with a level. Draw a chalk line perpendicular to the line's middle. Both lines should form a cross or "x" on your floor and extend across the installation area. You will use these lines as a guide for the initial tile rows.
2. Next, use spacers to arrange your tiles across your lines to obtain a sense of your design. If your tiles need to be cut, which some definitely will need to be, attempt to either conceal the cuts beneath a cabinet or other object, or if the installation is wall-to-wall, try to divide the cuts so that the tiles at the beginning and the end have equal cuts. It is best to take your time and make any required adjustments to your measurements in order to develop an accurate layout that will help with the final installation's appearance and result in a much neater finish. To simplify the process of installing your complete floor faster and smoother, we advise making your cuts before beginning your installation. Then label each piece before setting it aside.

3. To make your cuts more accurate, lay your tile directly on top of the previous set, then lay another tile on top of that touching the wall, draw your cutting line along the edge of your top tile on the tile to be cut. If you are laying porcelain, use your tile cutter to score the tile along the line and split it along the cut. If you are using an electric cutter, be careful to wear goggles and cut along the specified line. If you are installing a natural stone, make sure you have the right equipment on hand for the task at hand because some natural stones do need a wet while others don't.

Putting tiles on the surface you have prepared
1. As directed by the manufacturer, mix your adhesive that is suitable for your application. Wearing protective gear, such as gloves, and a dust mask, is recommended when working with adhesive because it can irritate your skin and it is not advisable to breathe in adhesive dust when mixing. White adhesive is what we at Stone Deals recommend because it works well for a variety of installations, whether you are putting in all-natural stone tiles or porcelain. Apply the adhesive to two to three square feet of surface at a time, or enough to lay a few tiles, using a trowel with a notched notch, usually a 1/2" or 3/8" square notch. To make the lines, just drag the adhesive while holding the trowel at a 45-degree angle with its teeth touching the floor. Additionally, coat underneath of your tiles with a thin, smooth layer of adhesive as well to guarantee complete underneath adhesive uniformity for improved adherence, place the tile onto the adhesive, apply pressure to build a bond, then move it slightly across your adhesive lines to collapse your lines for a much better adhesion. Place spacers between each tile and lay down your next tile in the same manner. Remove any extra glue from the grout joints and tile face as you check to make sure each tile is level. Continue doing this all over your floor area.

2. You can start applying your grout as soon as the adhesive dries and sets. If you are installing natural stones, this is also the time you apply your first coat of natural stone sealant to prevent stains and protect your precious new stones and wait the necessary amount of time for it to penetrate your natural stone. Then follow the instructions on the package to mix your grout. Using the grout float, apply grout to your grouting gaps in a cross-sweeping motion while maintaining a 45-degree angle. To make sure the tile joints are properly filled in and that there are no air pockets in the space, the grout should be pushed over them in two to three different directions.

Cleaning excess grout
1. Use a clean, wet sponge to remove any excess grout within 5 to 10 minutes of application. Waiting too long can make it much more difficult to remove the grout haze from your tile surface. This is typically when the grout begins to leave a slight haze on your tiles. Wipe the floor with your sponge after filling a fresh bucket with water and sponge. Avoid using excessive amounts of water or attempt to clean your tiles with a circular motion as this may remove the grout from your grouting gaps. Pulling the sponge in your direction is the simplest technique. Polished or textured tiles will require multiple iterations of this procedure.
2. Dry your entire surface with a dry cloth.
3. All natural stones need to be sealed once before and once after grouting. Natural stone sealing is a continuous procedure that ought to be done at least once annually.

Now take a seat back and enjoy your finished new installation.
Tools and equipment list.